Water levels
Creating water levels
To create a new record of water levels, see Creating a record.
Representing water levels
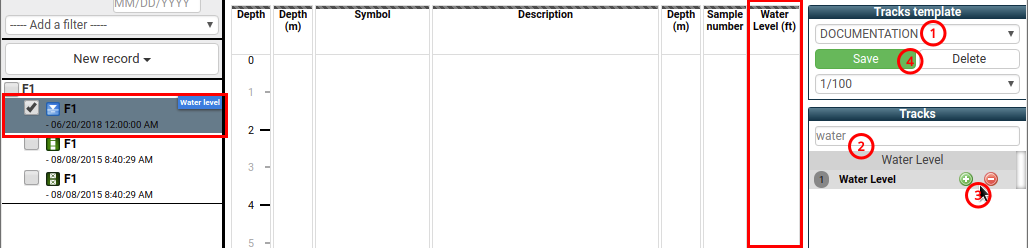
(1) Representation of water levels occurs in a defined Tracks template (e.g. DOCUMENTATION)
(2) Find the Water levels group in the Tracks list
(3) Use ![]() to add a track,
to add a track,
![]() to remove a track
to remove a track
(4) Save changes to the current model with the button Save
Entering water levels
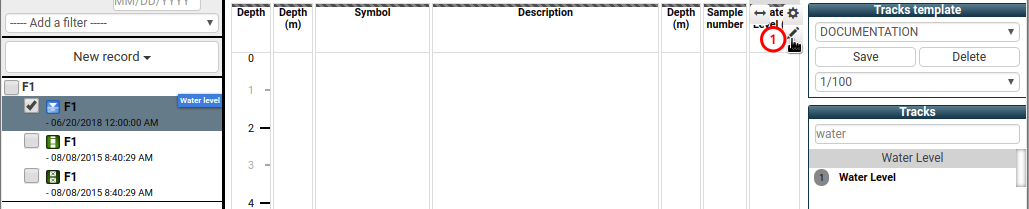
(1) Place the cursor at the right end of Water levels track header.
Click ![]()
The Water levels form allows the input of the different water levels made in the borehole. A water level is characterized by a depth, a date of statement and a type.
Creating water levels
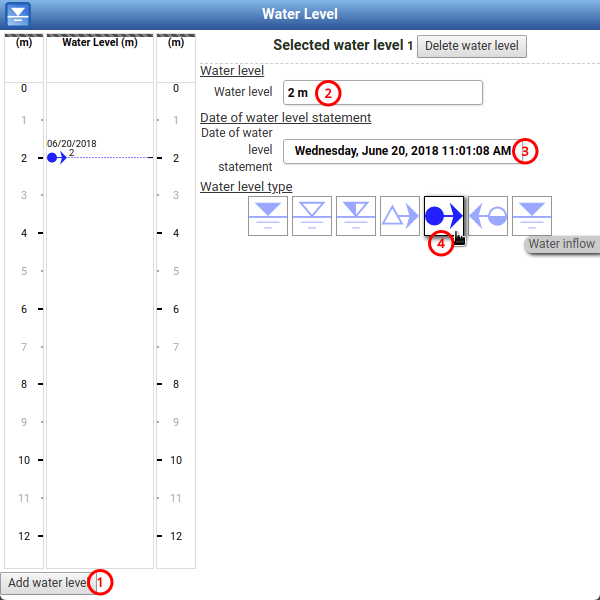
(1) Click Add water level : a new level is added with default depth and date, and is displayed in the preview
(2) Enter the exact depth in Water level (e.g. 2 m)
(3) Enter the Date of water level statement (e.g. 06/20/2018 11:01:08 AM)
(4) Choose the Water level type (e.g. Water inflow)
Water levels types
 Water level after drilling
 Water level during drilling
 Water level at the end of drilling
 Gas inflow
 Water inflow
 Water loss
 Static water level
Editing water levels
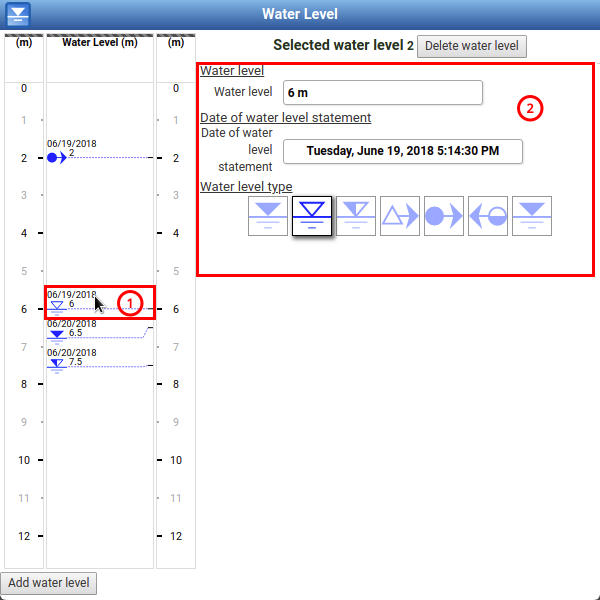
(1) Click the water level to modify
(2) Modify the characteristics of the water level
Deleting water levels
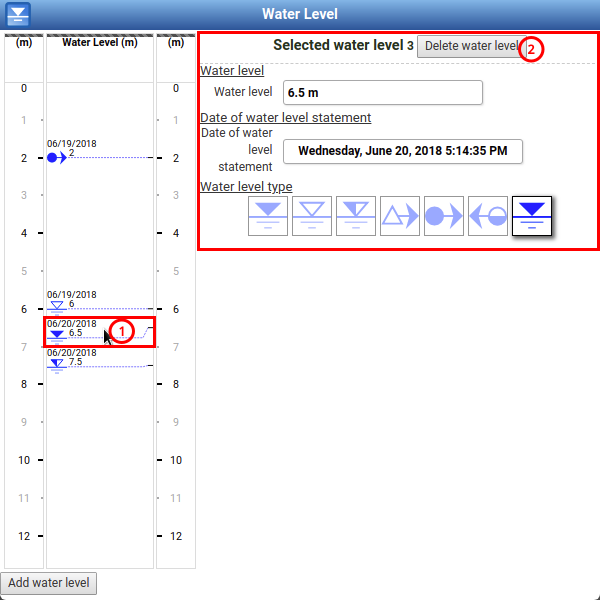
(1) Click the water level to delete
(2) Click Delete water level
Saving water levels
Water levels are automatically saved when you click outside of the form.