Creating a header template
Standard templates
- For drilling parameters: Default Drilling Parameters Header
- For jet grouting parameters: Default Jet Parameters Header
- For continuous flight augering parameters: Default pile Parameters Header
- For Ménard pressiometer test: Default Ménard Pressiometer Test Header
NOTE: These templates should not be modified. They will be reset on each update.
Creating a new header template

(1) Select only one record, the one you want to represent in the header.
NOTES:
- Changing the header is disabled if several records are selected.
- Ménard pressuremeter test and Dynamic probing test records do not allow editing the header template.
(2) Choose a Header template (eg. Default Drilling Parameters Header)
(3) Click Duplicate
(4) Enter a name for the new Header template (eg. Demo)
(5) Click Duplicate
Creating an element
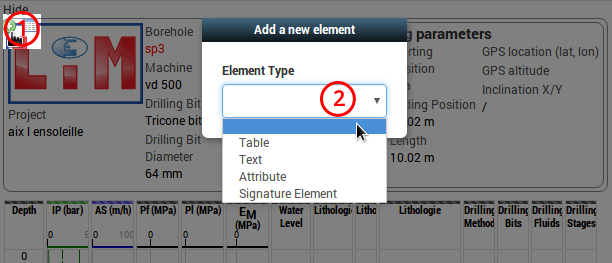
(1) Click ![]()
(2) Select the Element type to create:
Creating a table
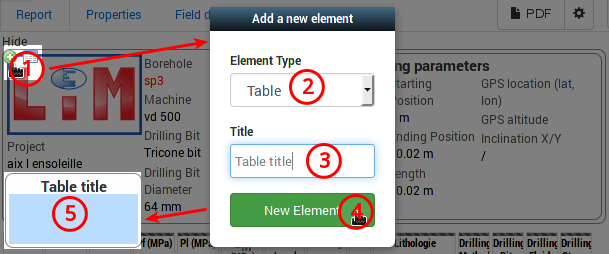
(2) Select Element Type Table
(3) Enter the Title (eg. Table title)
(4) Click New Element
Creating a text
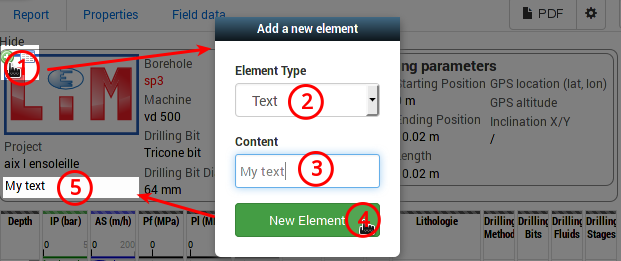
(2) Select Element Type Text
(3) Enter Content (eg. My text)
(4) Click New Element
Creating a property
NOTE: Property is also named as Attribute
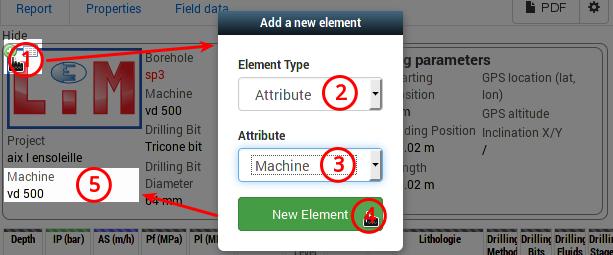
(2) Select Element Type Attribute
(3) Select the Attribute to add (eg. Machine)
(4) Click New Element
(5) The property is displayed as a label (eg. Machine) and a content (eg. vd 500)
Creating a signature element
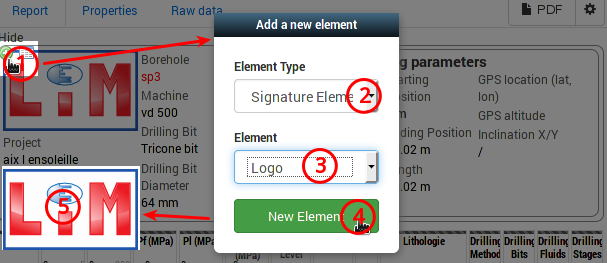
(2) Select Element Type Signature Element
(3) Select the Element to add (eg. Logo)
(4) Click New Element
(5) The logo of the current signature is displayed, see Creating a signature
Deleting an element
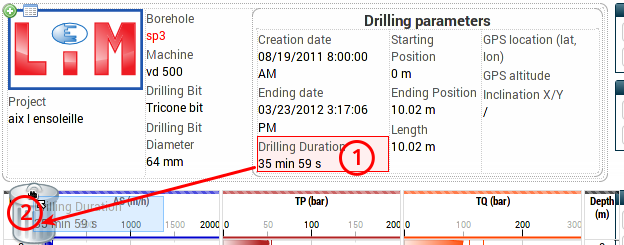
(1) Select the element with the mouse and hold the button
(2) Drag the element and drop it into the trash to make it disappear
Moving an element

(1) Select the element with the mouse and hold the button
(2) Drag the element and drop it to the desired position
Adding a column to a table

(1) Select the table to complete. The selected table appears with a blue outline.
(2) Click
![]()
(3) The new column is being added at the right end of the table
(4) Move an element into the new column
NOTE: Empty columns are automatically deleted when the header template is being saved
Creating a signature
Standard signature
- LIM
NOTE: This signature should not be modified. It will be reset on each update.
Creating a signature

(1) Click Create
(2) Enter the name of the Signature (eg. GEO-LOG4)
(3) Click Create
(4) The signature shows in the header by adding an Signature Element, see Creating a signature element
Editing an image
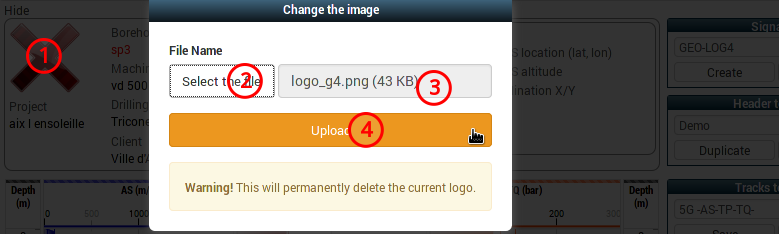
(1) Double-click the cross (in the case of creating a signature) or on the current header signature.
(2) Click Select the file
(3) Choose an image (eg. logo_g4.png)
NOTE: GIF, JPEG, JPG, PNG, SVG formats are accepted
(4) Click Upload